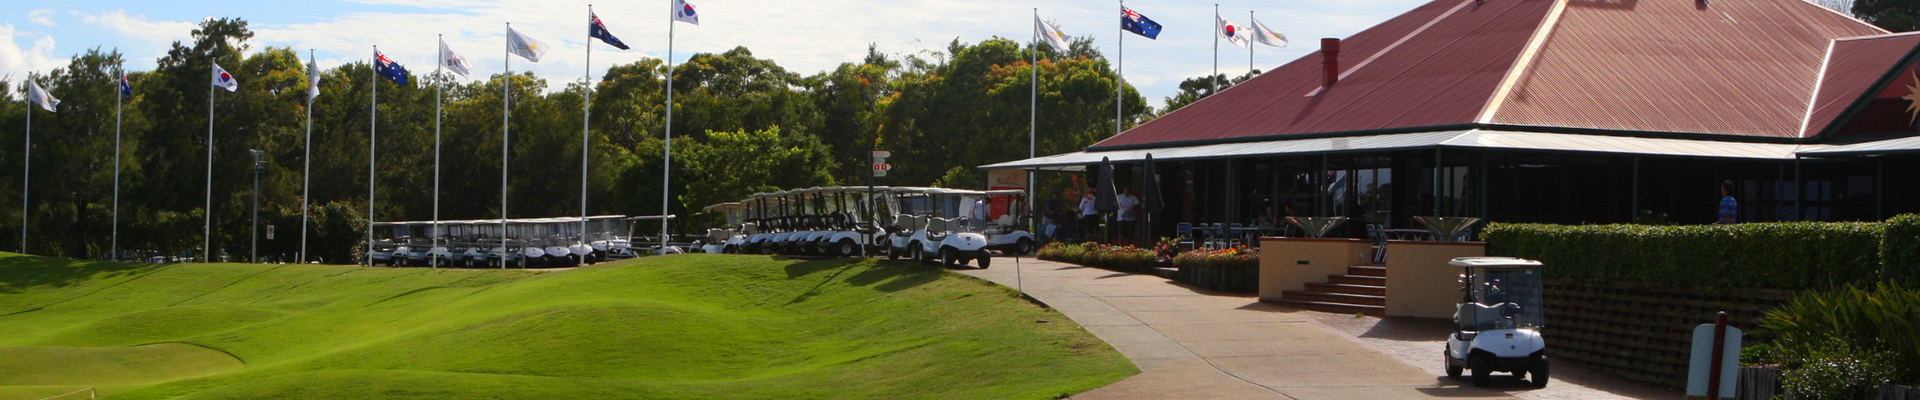
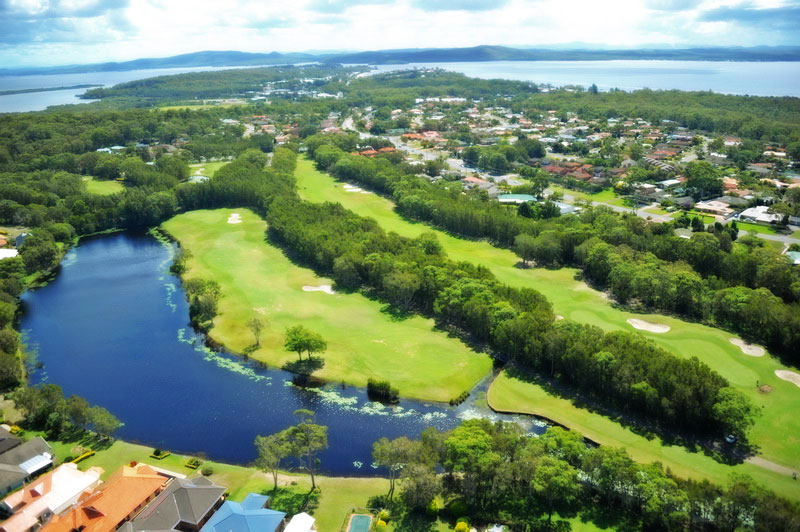
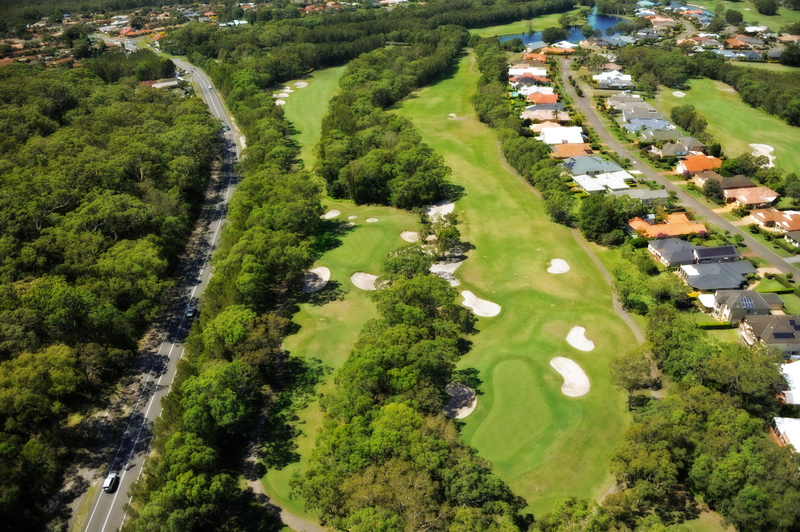
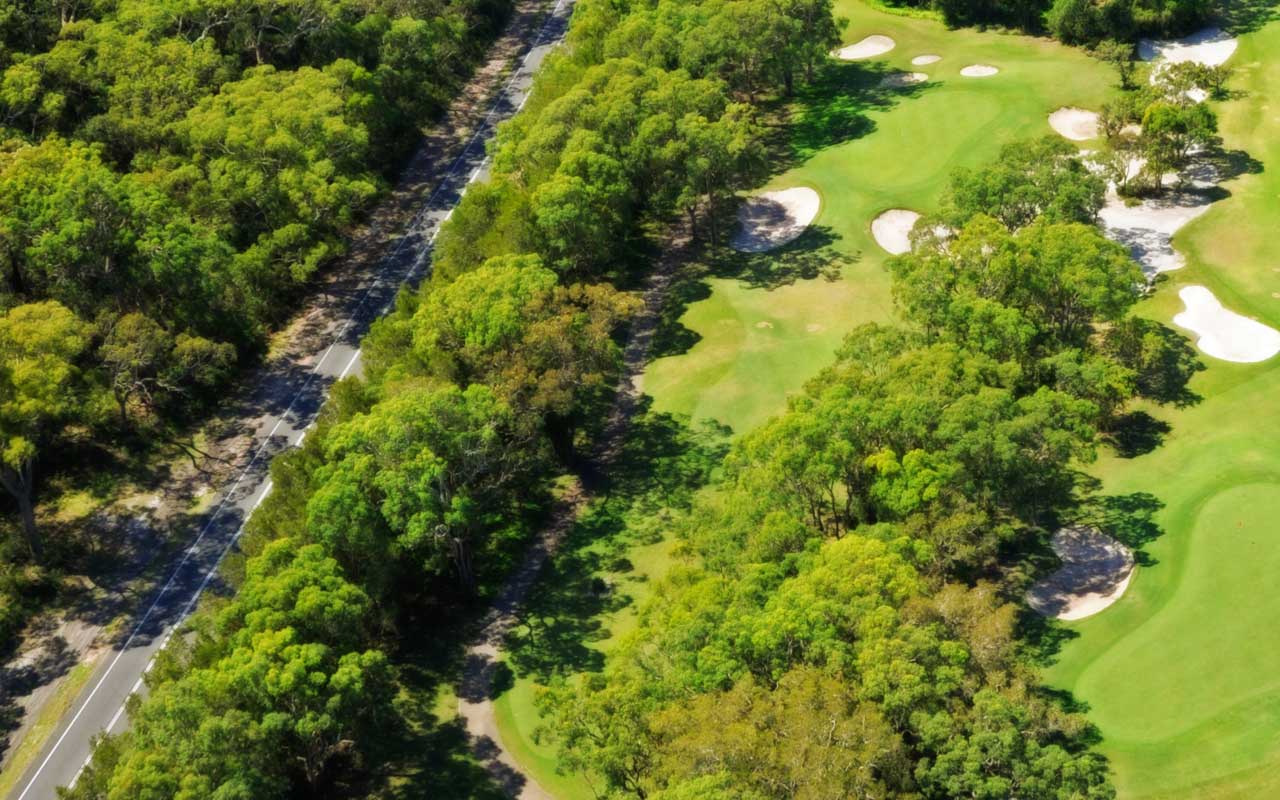
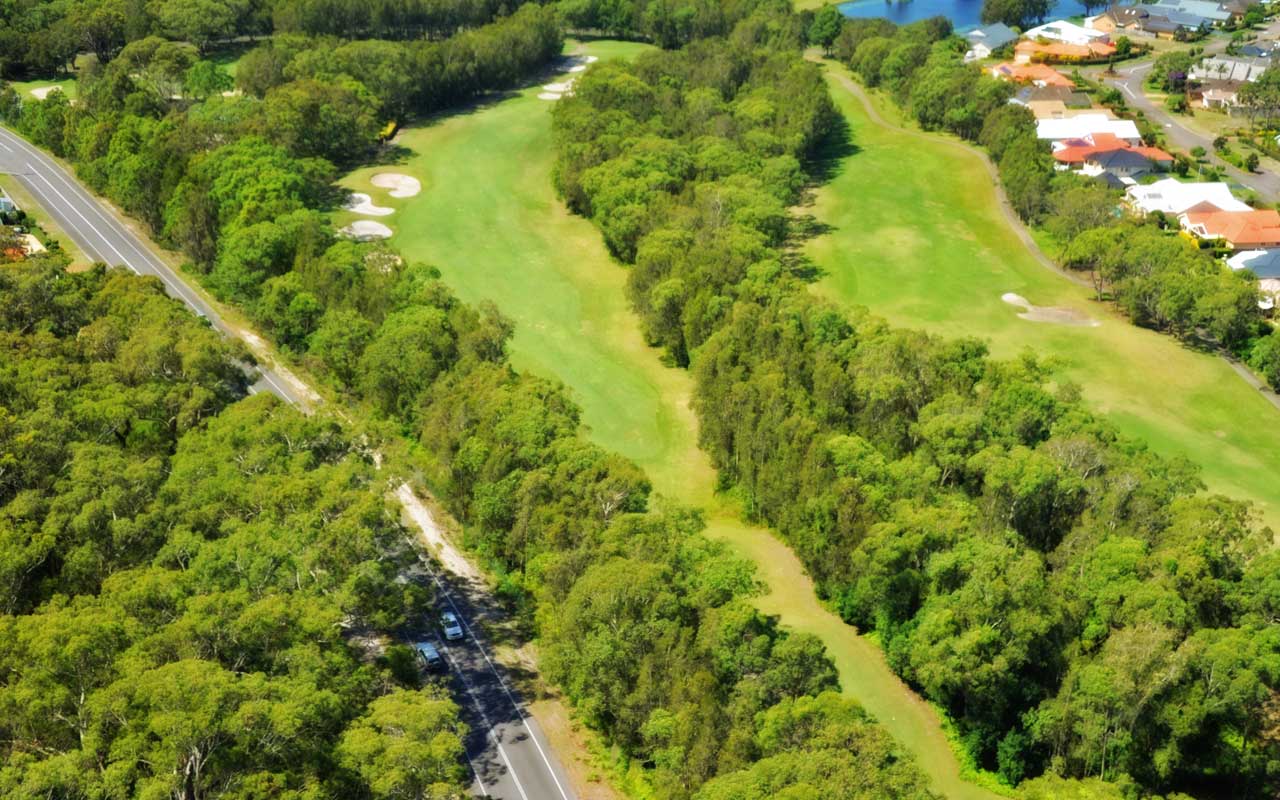
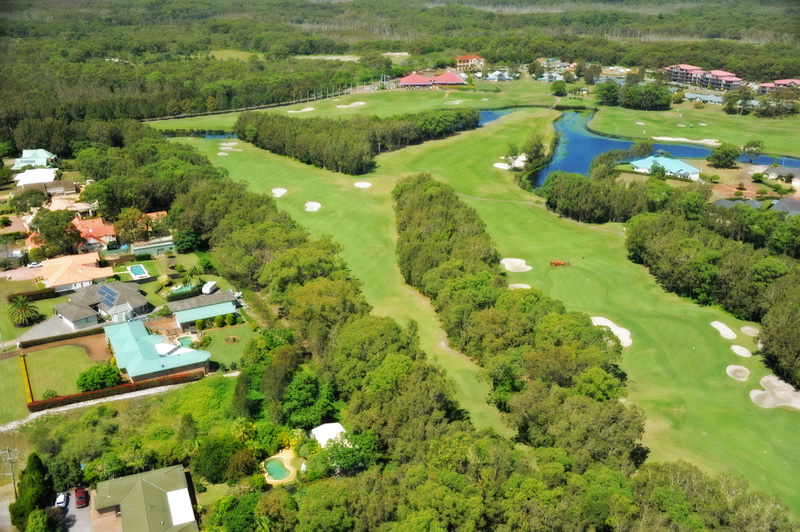
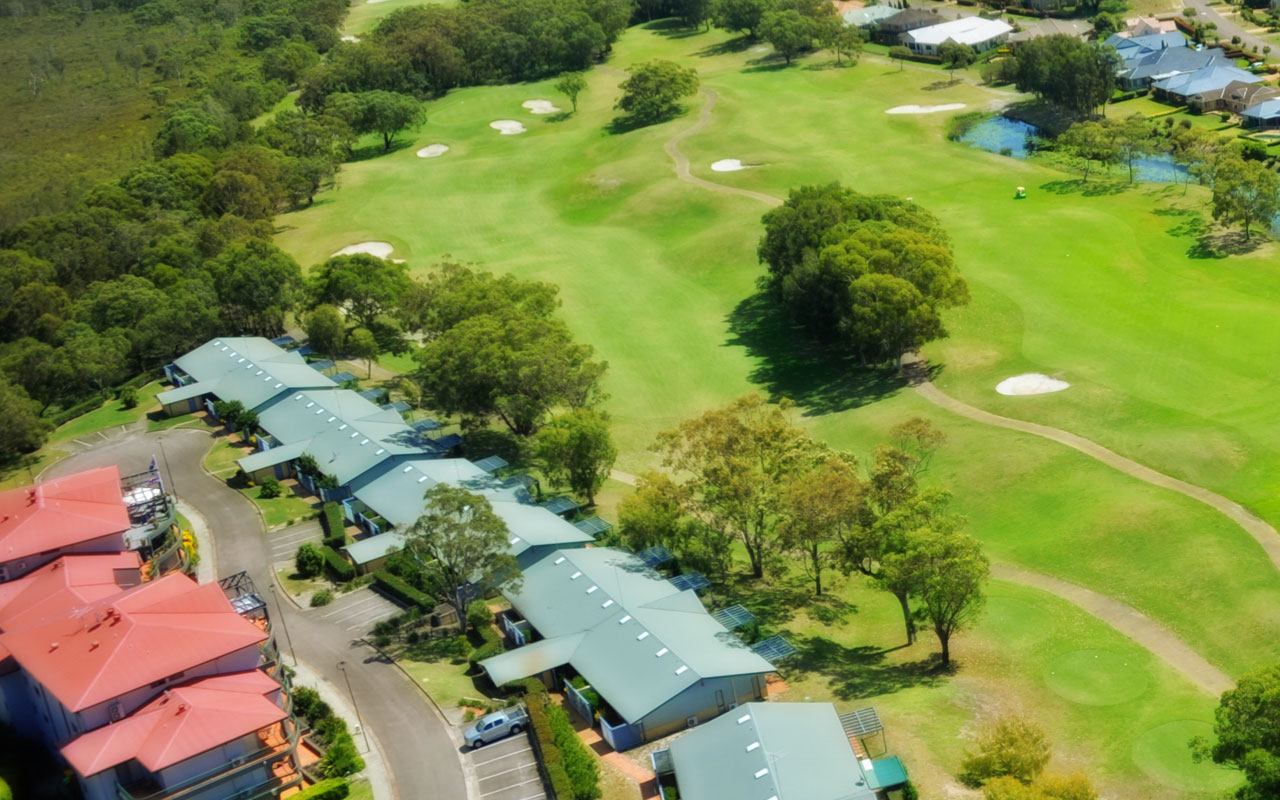
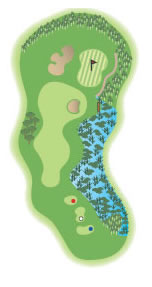
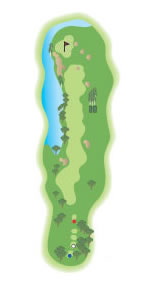
The Course
Horizons Golf Resort is designed by the internationally acclaimed Australian team of Ross Watson and Graham Marsh. It was voted NSW’s top golf resort and rated in Australia’s top 50 courses in 2002 only a decade after it opened in 1992.
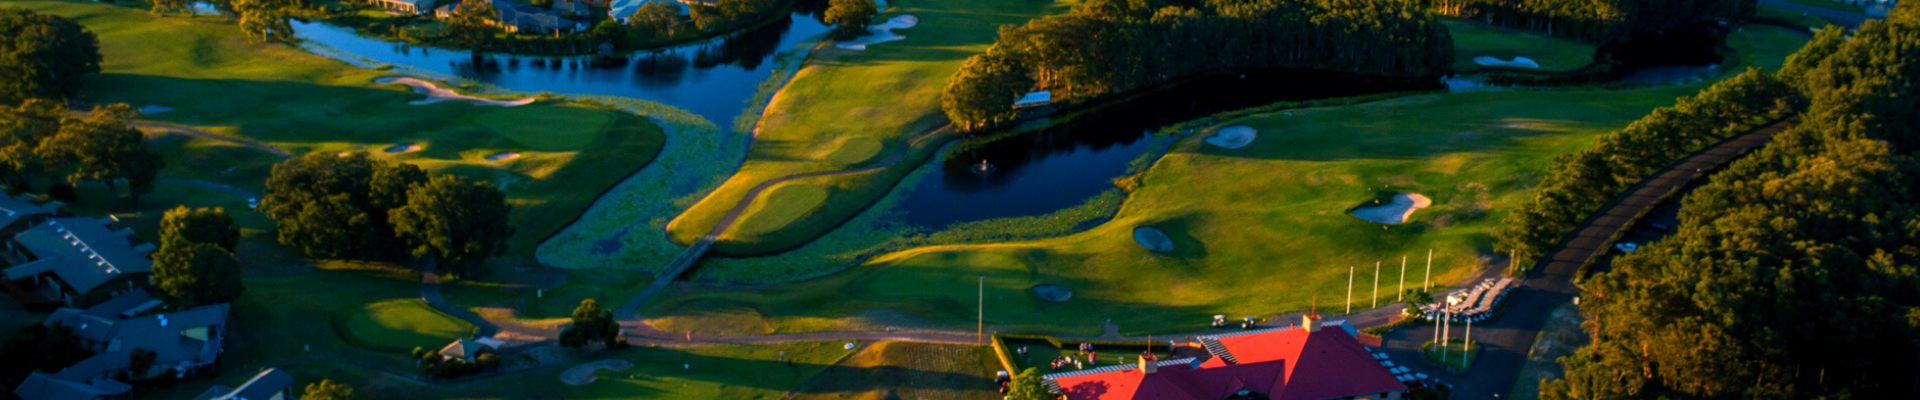
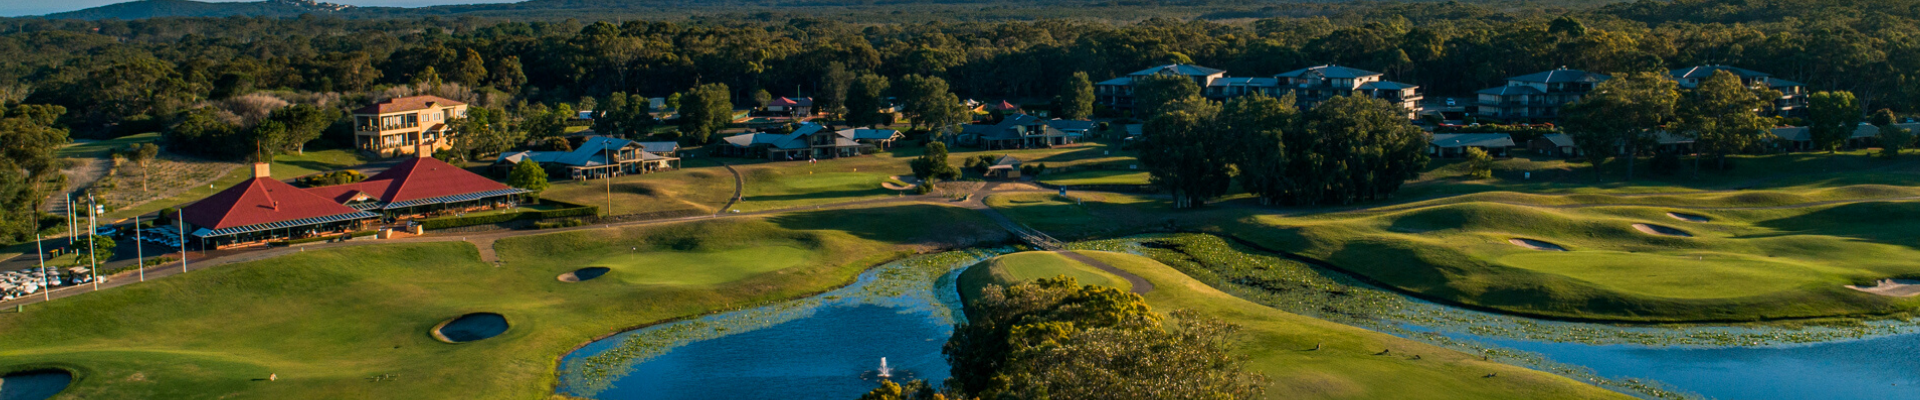
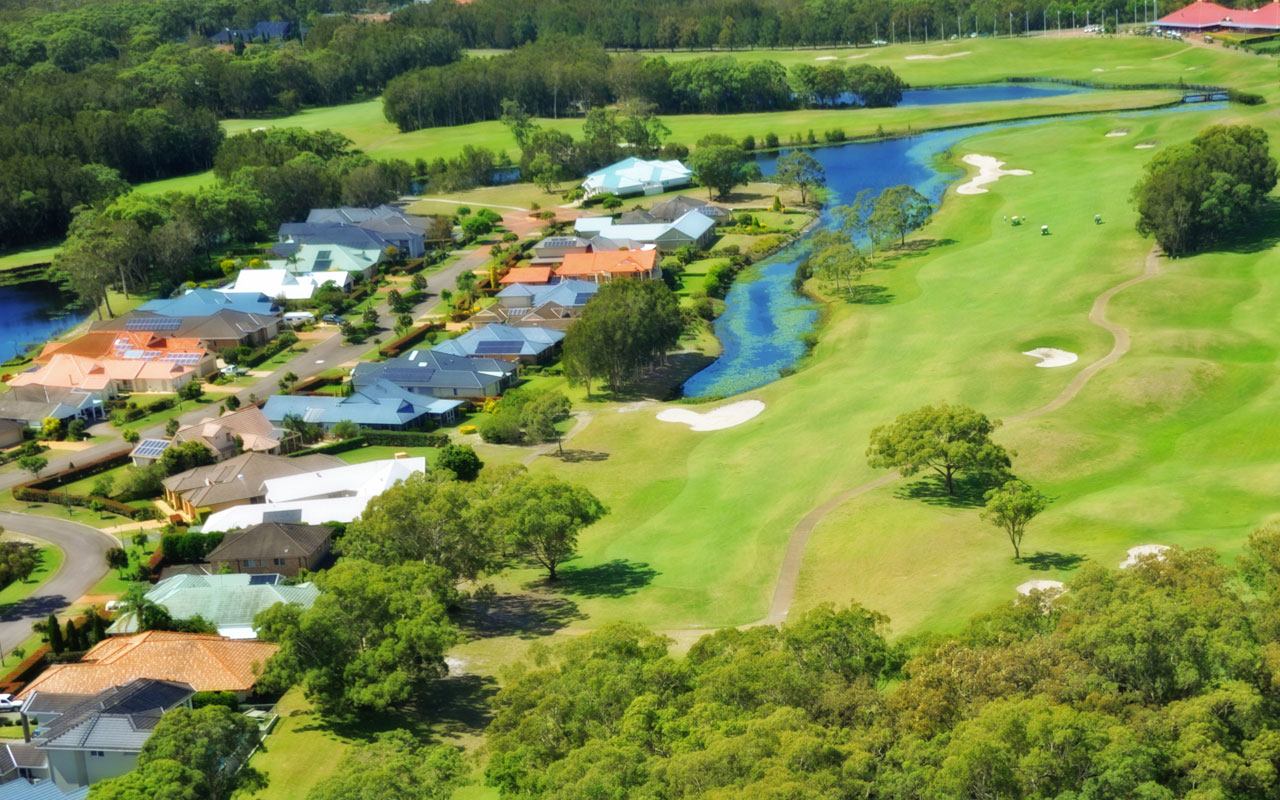
This Watson-Marsh course was created from swampland with absolute dedication to a challenging design utilising natures countless offerings – lakes, bushland and wetland.
The manicured bent grass greens are rated with the best in the country. The course features expansive lakes and undulating fairways, all surrounded by natural bushland and an abundance of wildlife.
In particular, hole 17 is a marvellous 153m par three which holds a stunning world ranking. It is ranked amongst some of the world’s great golf holes in the book “1001 golf holes you should play before you die”.
Our course hole by hole overview provides a fantastic insight into what Horizons has to offer. Are you ready for the challenge?
Hole by Hole
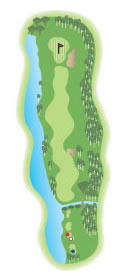
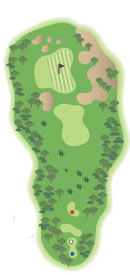
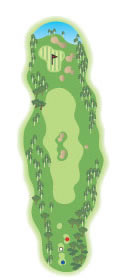
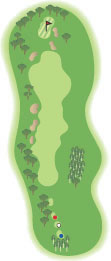
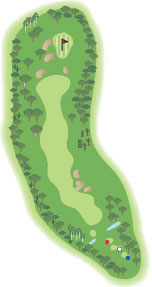
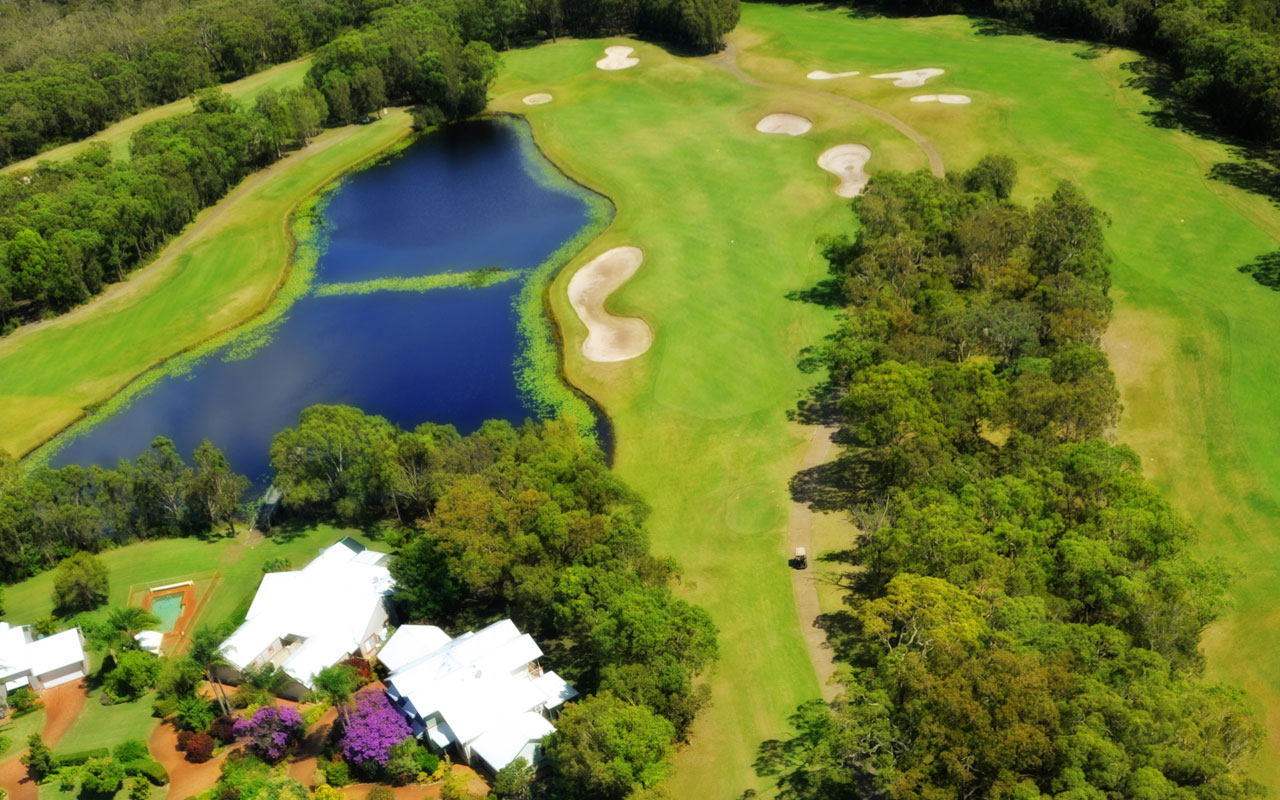
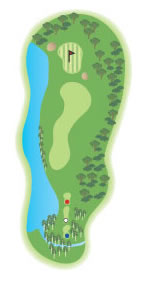
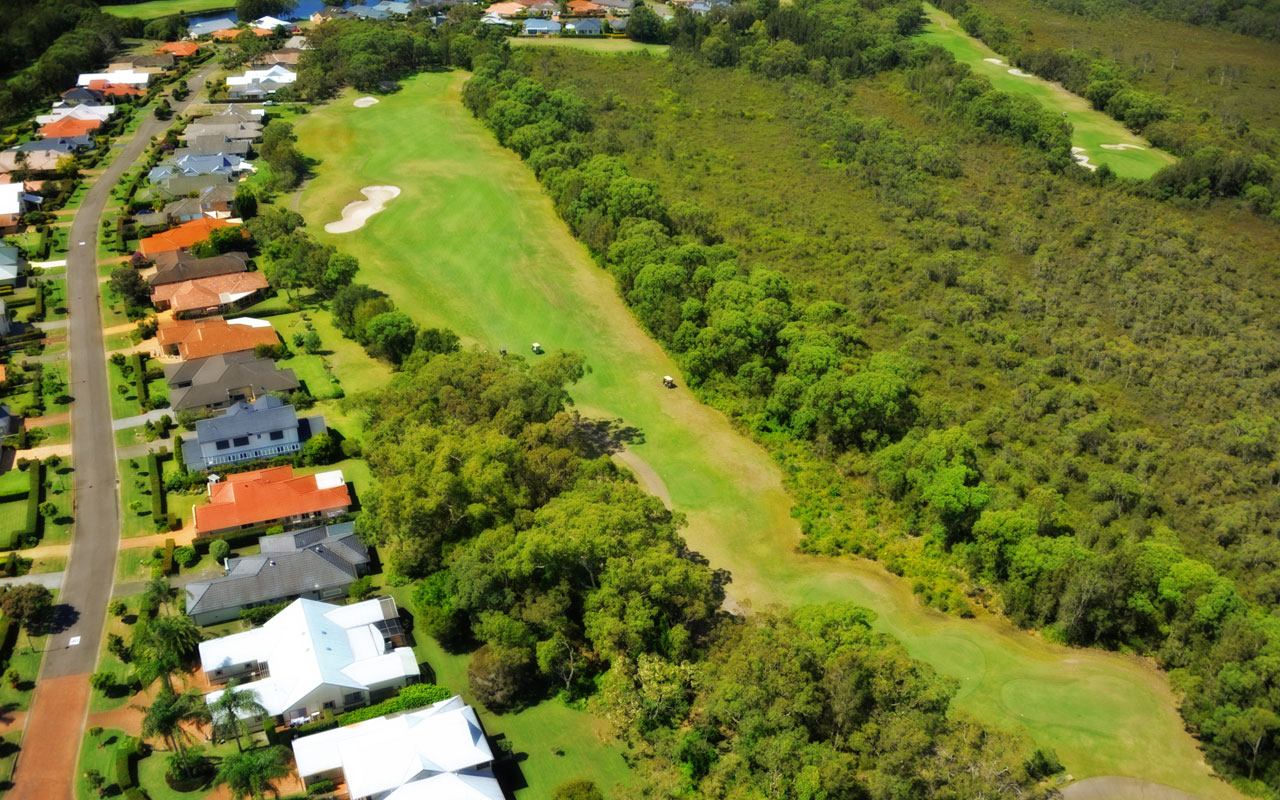
Hole 1
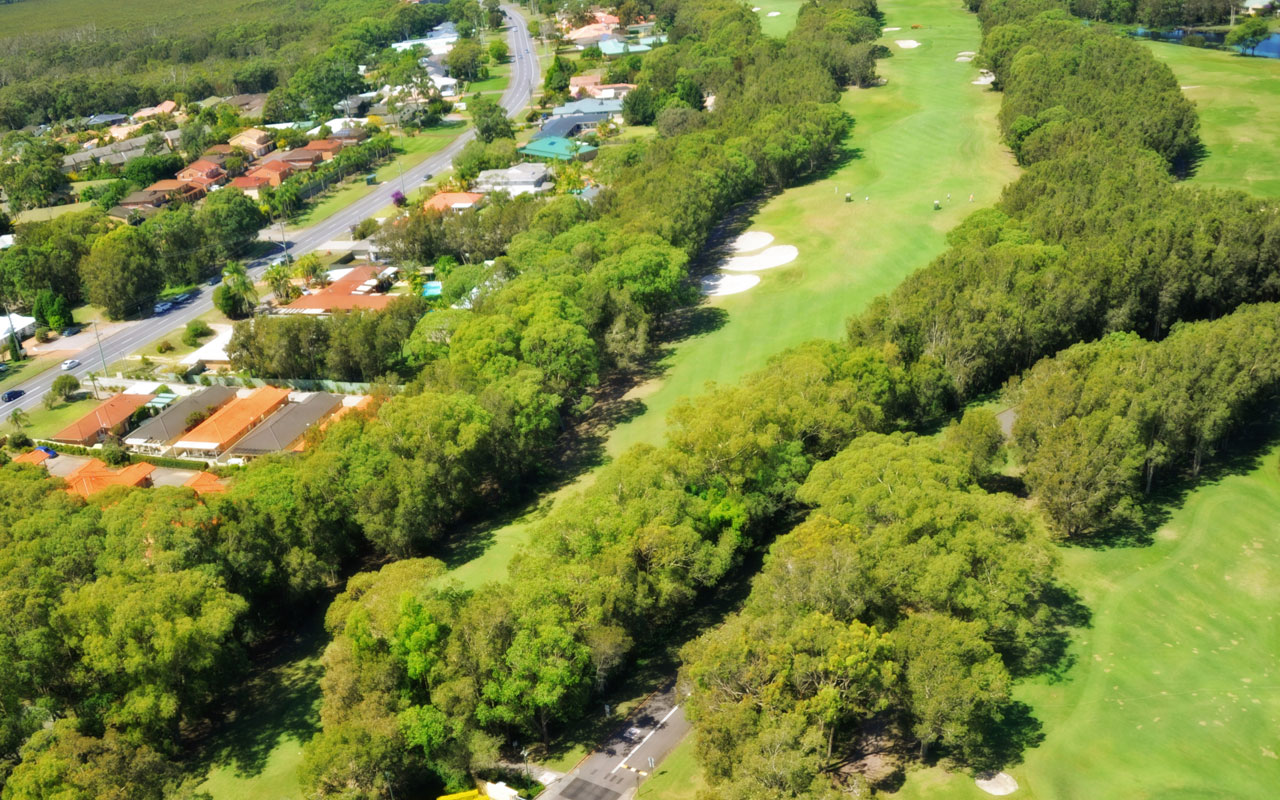
A dog-leg left with ample room to the right off the tee. A driver down the left centre avoiding the fairway bunker on the left. Always go an extra club for your second shot in calm conditions, the green is very long from front to back.
Dangers: lateral hazard water left off the tee, lateral hazard right.
Par 4: B 390m / W 380m / R 339m
Index rating 7

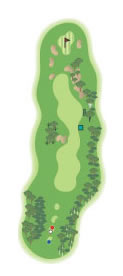
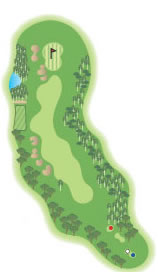
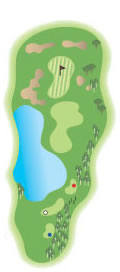
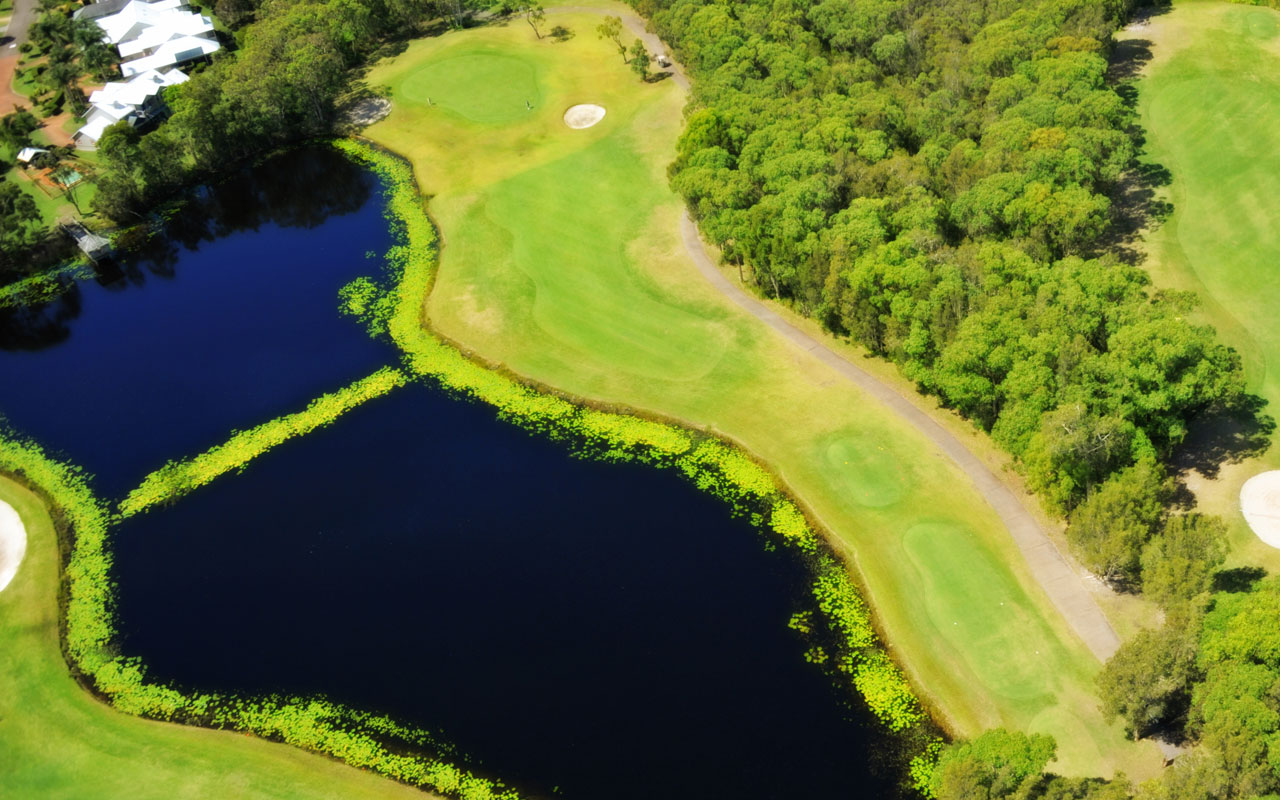
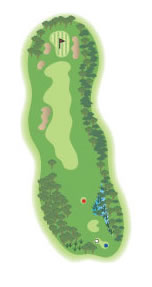
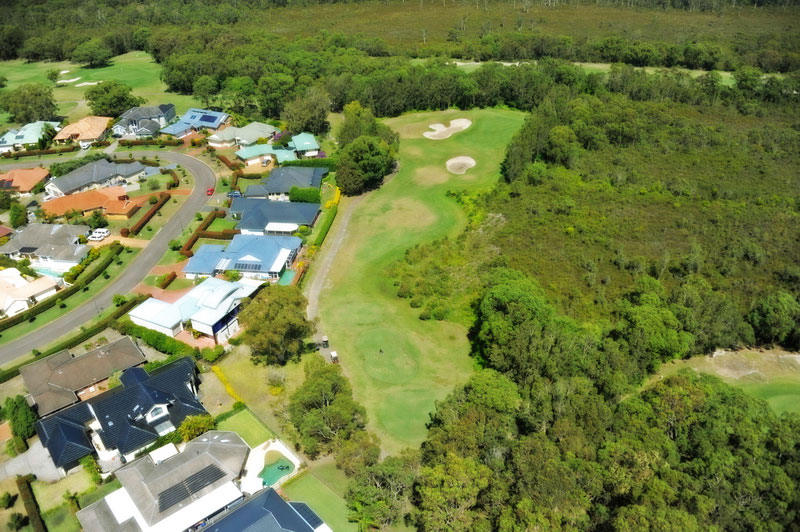
Hole 2
A slight dog-leg right requiring a driver off the tee with a fairway bunker on the right. Your second shot will require a mid iron with plenty of accuracy – Beware of the valley of doom! All putts on the green slope to the water.
Dangers: Lateral water hazard left, lateral hazard right.
Par 4: B 379m / W 360m / Par 5: R353m
Hole 3
Great Par 5. A Double dog-leg left then right, bunker on the left guarding the corner. # wood off the tee is the play for position. Lay up for your second if in doubt – fairway tightens noticeably 100 metres out from the green. The green is very long with sloping left to right.
Dangers: Out-of-bounds (O-O-B) skirts the cart path left, lateral hazard right.
Par 5: B 479m / W 457m / R 453m
Hole 4
A long green with numerous bunkers short left and right characterise this great hole. Long and left is the desired place to miss the green with a relatively flat green. A mid to short iron is required.
Dangers: Left of the cart path is lateral hazard, steep bunkers to the right of the green.
Par 3: B 144m / W 137m / R 111m
Hole 5
All the best! Dog-leg right with fairway bunkers left. Tee shot here is crucial, the hole tightens 200 metres from the tee. A tee shot to the right blocks you out for your second and left leaves you with a long iron out of the bunkers. Position is the key so 3 wood off the tee leaving a mid iron to the green. A large sloping green awaits you with bunkers left.
Dangers: lateral hazard left and right, water left of the green.
Par 4: B 371m / W 358m / R 304m
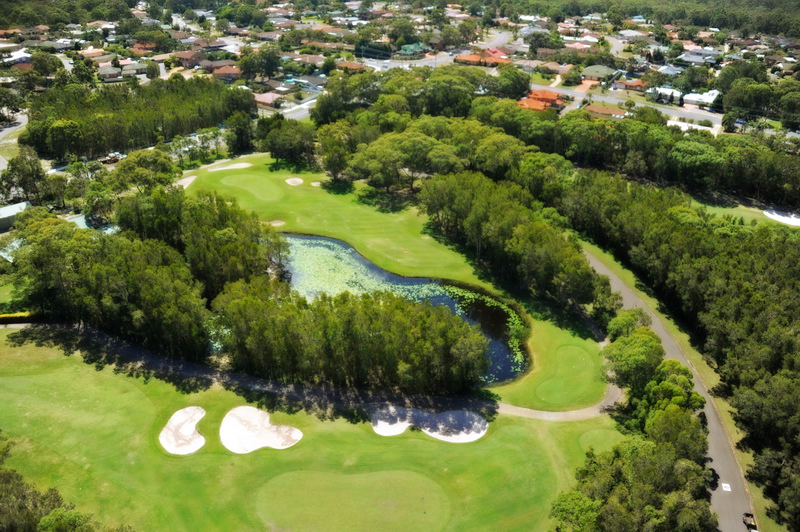
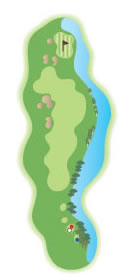
Hole 6
The hole requires precision as the green sits at a tough angle from the tee. Added to this is the water factor. Having to make it across the water before tackling a well protected green. The green is two-tiered and elevated green surrounded by bunkers with a huge bunker on the left. If you make three from in there, ‘go play golf for a living’! Always go an extra club in calm conditions. A relatively flat green.
Dangers: Steep face on bunkers left.
Par 3: B 160m / W 137m / R 115m
Hole 7
A slight dog-leg left requiring driver off the tee with fairway bunkers left. Two options for your second – lay up on the upper level 100 from the green or go for the green and risk meeting the green-side bunkers. The target is a generous two-tiered double green with the 1st hole.
Dangers: Lateral water hazard left and right.
Par 5: B 498m / W 483m / R 433m
Hole 8
A slight dog-leg left with a dual fairway with centre bunkers. Tiger line is over the left fairway bunker with a draw for the long hitters with the driver, the safe play is to the right of the bunkers leaving you a good look at the green. Both lines will result in a relatively short shot to the green.
Dangers: Lateral water hazard left, water over the back of the green.
Par 4: B 347m / W 329m / R 309m
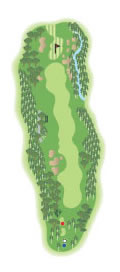
Hole 9
Newly remodeled! This is no longer a straight forward short hole. From the tee – watch out for the two new fairway bunkers on the left and right. A single bunker on the left front of the green provides the only defence once the fairway bunkers and water have been negotiated. Then you have the green to deal with – double its original size with some serious contouring.
Dangers: water right, O-O-B left.
Par 4: B 307m / W 298m / R 293m
Hole 10
A straight away hole with elevated green, bunkers on the left and large mounds on the right. The tee shot is a straight forward drive down the centre. The second shot is deceiving usually requiring one club more than you think. The green is 45m long so it requires precise club selection leaving a mid to long iron. The green slopes from back to front quite steeply. A bogey is not a bad start.
Dangers: O-O-B left of the fairway bunkers.
Par 4: B 389m / W 371m / R 353m
Hole 11
A slight dog-leg left with fairway bunkers on the left. This hole requires a driver off the tee leaving a mid to long iron for your second shot. All the trouble is on the right for your second shot – the place to miss it is long and left over the green side bunker. The green is cut in two by a ridge on the left running from front to back.
Dangers: O-O-B left, lateral water hazard left and right.
Par 4: B 383m / W 374m / Par 5: R 375m

Hole 12
A slight dog-leg left with a large mound tempting the longer hitters. Beware of the pot bunker short of the mound and the bunker on the right is there to catch a drive that runs to far. The tee shot requires a placed driver with a 3 wood or long iron for the longer hitters, leaving a short iron into the green. The green is guarded by bunkers short left with a ridge runs across this two-tiered green.
Dangers: lateral water hazard left.
Par 4: B 344m / W 326m / R 302m
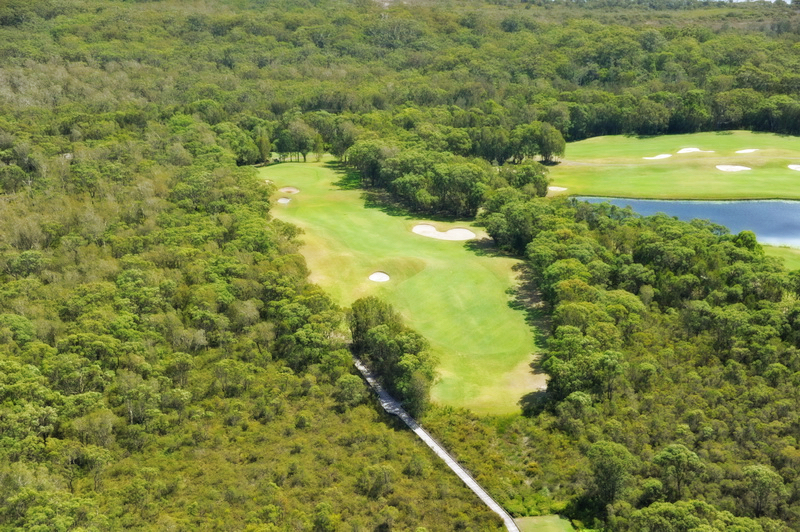
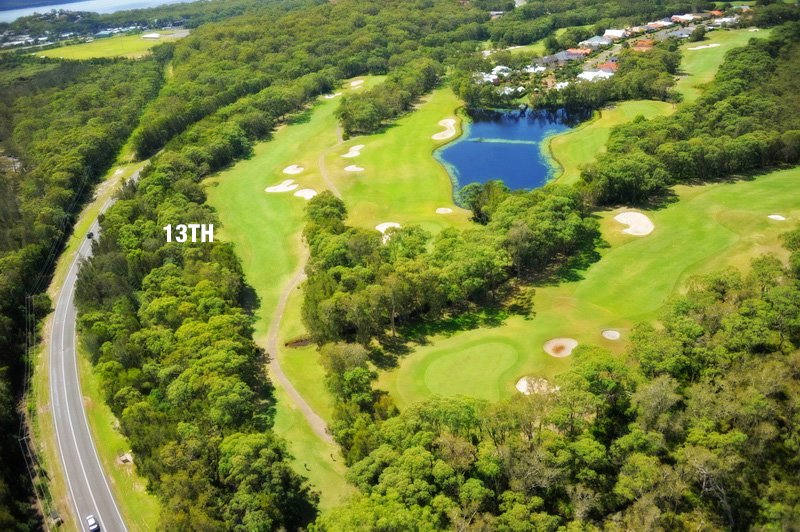
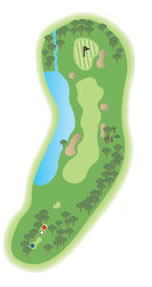
Hole 13
A slight dog-leg right with bunkers on the right set to catch the long hitter trying to cut the corner. The play for your second is to lay up short and left of the bunker on the right to give you a good look at the green. The bunker is 10 metres short of the green so trust your distance. Large green with two tiers.
Dangers: Lateral water hazard left of the fairway.
Par 5: B 472m / W 457m / R 429m
Hole 14
A short par 4 with a bunker on the left with water beyond it. Bunkers on the right making you keep the ball straight. The tee shot requires a 3 wood to set you up for a short shot into this short but testing hole. The green slopes towards the water.
Dangers: water on the left.
Par 4: B 322m / W 304m / R 289m
Hole 15
What you see is what you get! A straight forward Par 3 with a two-tiered green with water left. You could need at least two extra clubs into the wind so beware.
Dangers: water on the left, lateral hazard on the right.
Par 3: B 180m / W 165m / R 131m
Hole 16
A slight dog-leg right with a long bunker on the left. The driver is required aiming at the bunker on the left and fading the ball back to the centre of the fairway leaving a mid to long iron into the green. The green has two-tiers – the best place to miss is short left. Make a Par here and your friends will remember you forever.
Dangers: O-O-B left, lateral hazard right.
Par 4: B 379m / W 369m / R 313m
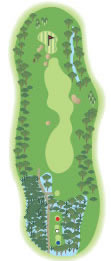
Hole 17
A deceiving hole…the bunker in front is 10 metres short of the putting surface, the green has two relatively flat-tiers. Don’t be left – don’t be right – don’t be long. If you hit to the left of the red pole take a point of entry drop, hit right of the pole and a reload is your best option.
Dangers: lateral hazard right and behind.
Par 3: B 153m / W 139m / R 120m
Hole 18
A straight away hole with bunkers left and right. The water start just past the bunker on the left and runs the rest of the hole down the left. For the long hitter the green is reachable in 2 with right wind. For the rest laying up 50 to 100m short is the best option. Greens don’t get much bigger than this guy. The target is somewhat unique, four tiers meet the player, a two putt here and move to the next tee!
Dangers: O-O-B & water left.
Par 5: B 495m / W 476m / R 425m
CALL TO BOOK A TEE TIME
02 4982 0474
Watch our course flyover
Hole flyovers
We are in the process of creating flyover videos for every hole of our course.
We will be adding them to this list as soon as they are produced.